For elegant wedding flowers, this Somerset florist loves this tip!
A few weeks a go I posted a short video of me putting together a floral arrangement using a “flower frog”. (You can view it here).
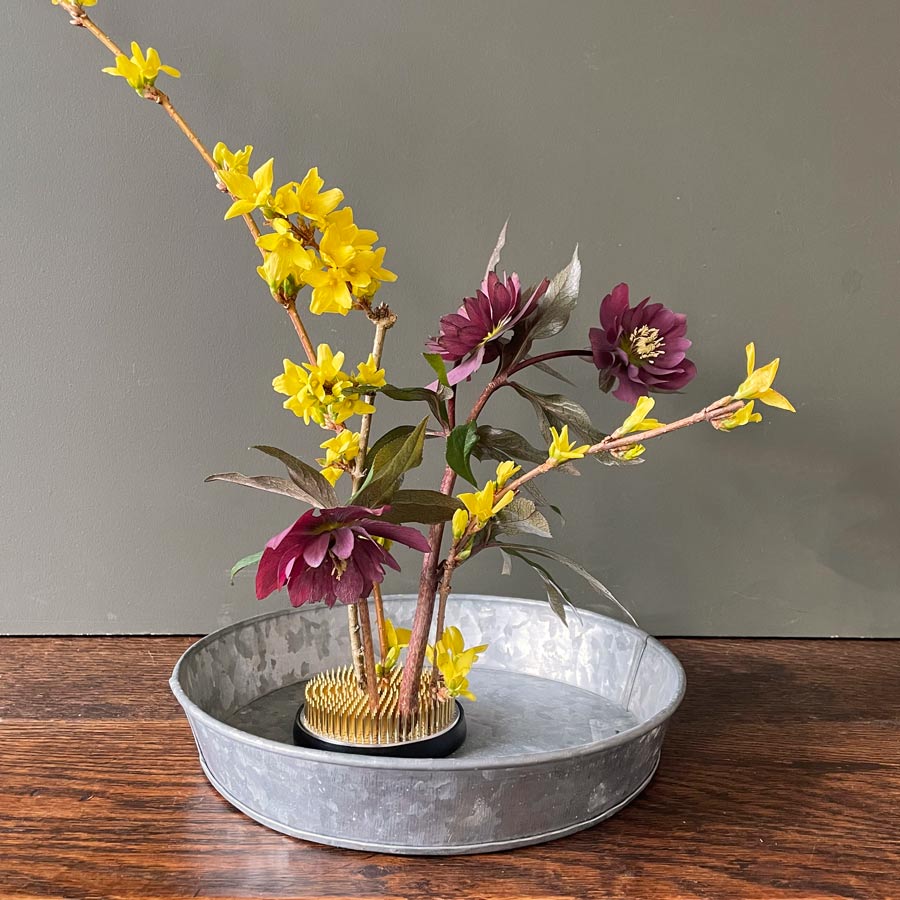
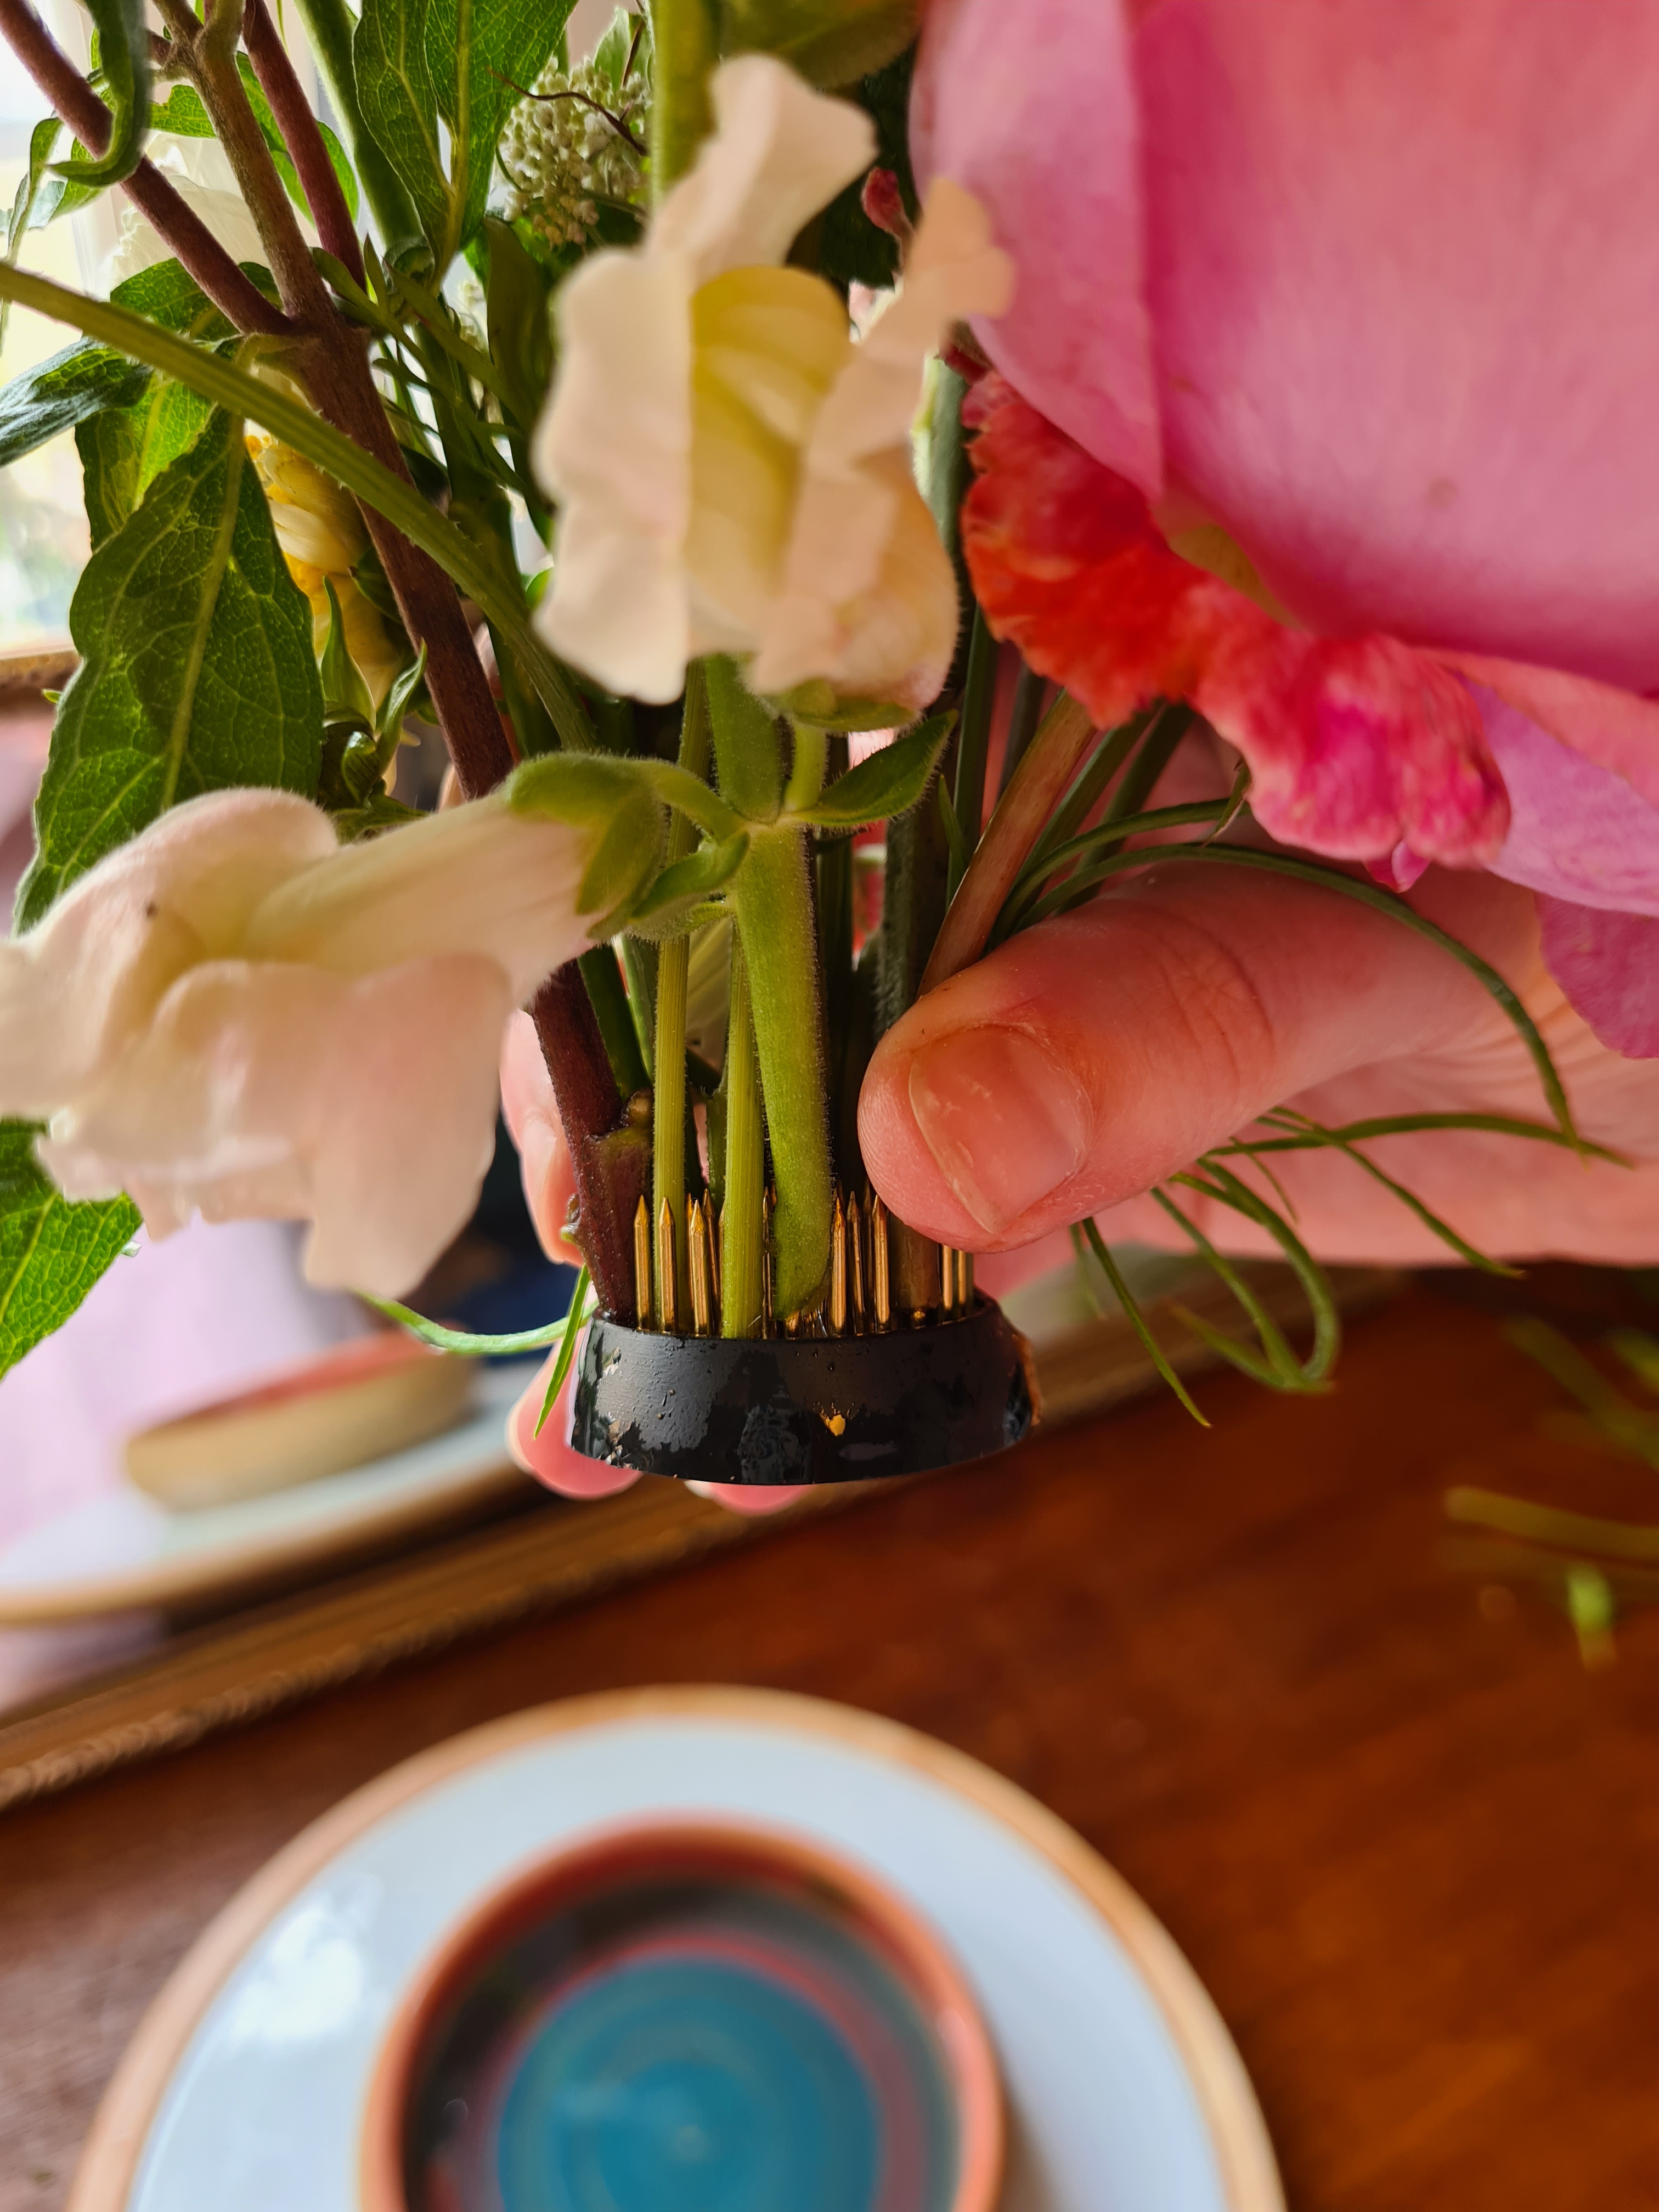
Perhaps you’re wondering what sort of funny device a flower frog could be? Well, the one I’m talking about in this post is basically a pin holder – they come in various shapes and sizes, made of different materials according to preference and are generally very sharp and quite heavy!
And they are fabulous for arranging flowers in a wonderfully eco-friendly way! They are totally reusable and no single use plastics involved!
So, lets just jump straight in!
Step one: Buy Your Flower Frog
Search online and chose your frog (you can get a surprisingly generous amount of flowers onto one frog so you can start small, and the shape will depend on the vessel you use). Something like this one is a great place to start. But loads of places online sell them!
Step two: Secure Your Frog In Place
If you’re just practicing at home, don’t worry too much about this, but for anything else you’ll want to fix the frog to your vessel – use floral adhesive tack, warm up by rubbing between your hands and stick between the frog and the bottom of the bowl.
Step three: Get Your Flower Materials Ready
You’ll need the flowers and foliage you intend to use, conditioned and ready (conditioned means to have looked after by keeping in cool water for a good drink, followed by preparing by removing unwanted leaves etc). You’ll also need a good pair of secateurs.
Step Four: Start Arranging
This bit all comes down to personal preference and how you love your flowers to look! If you are going for beautiful draping greenery that hangs over the sides of your bowl then start with the outside pins, and move in to the middle as you go. If you are going for an Ikebana vibe then you may find placing your focal flowers first more helpful and they may go into the centre first. Trim the stems to the length you want them and simply push the ends onto the pins!
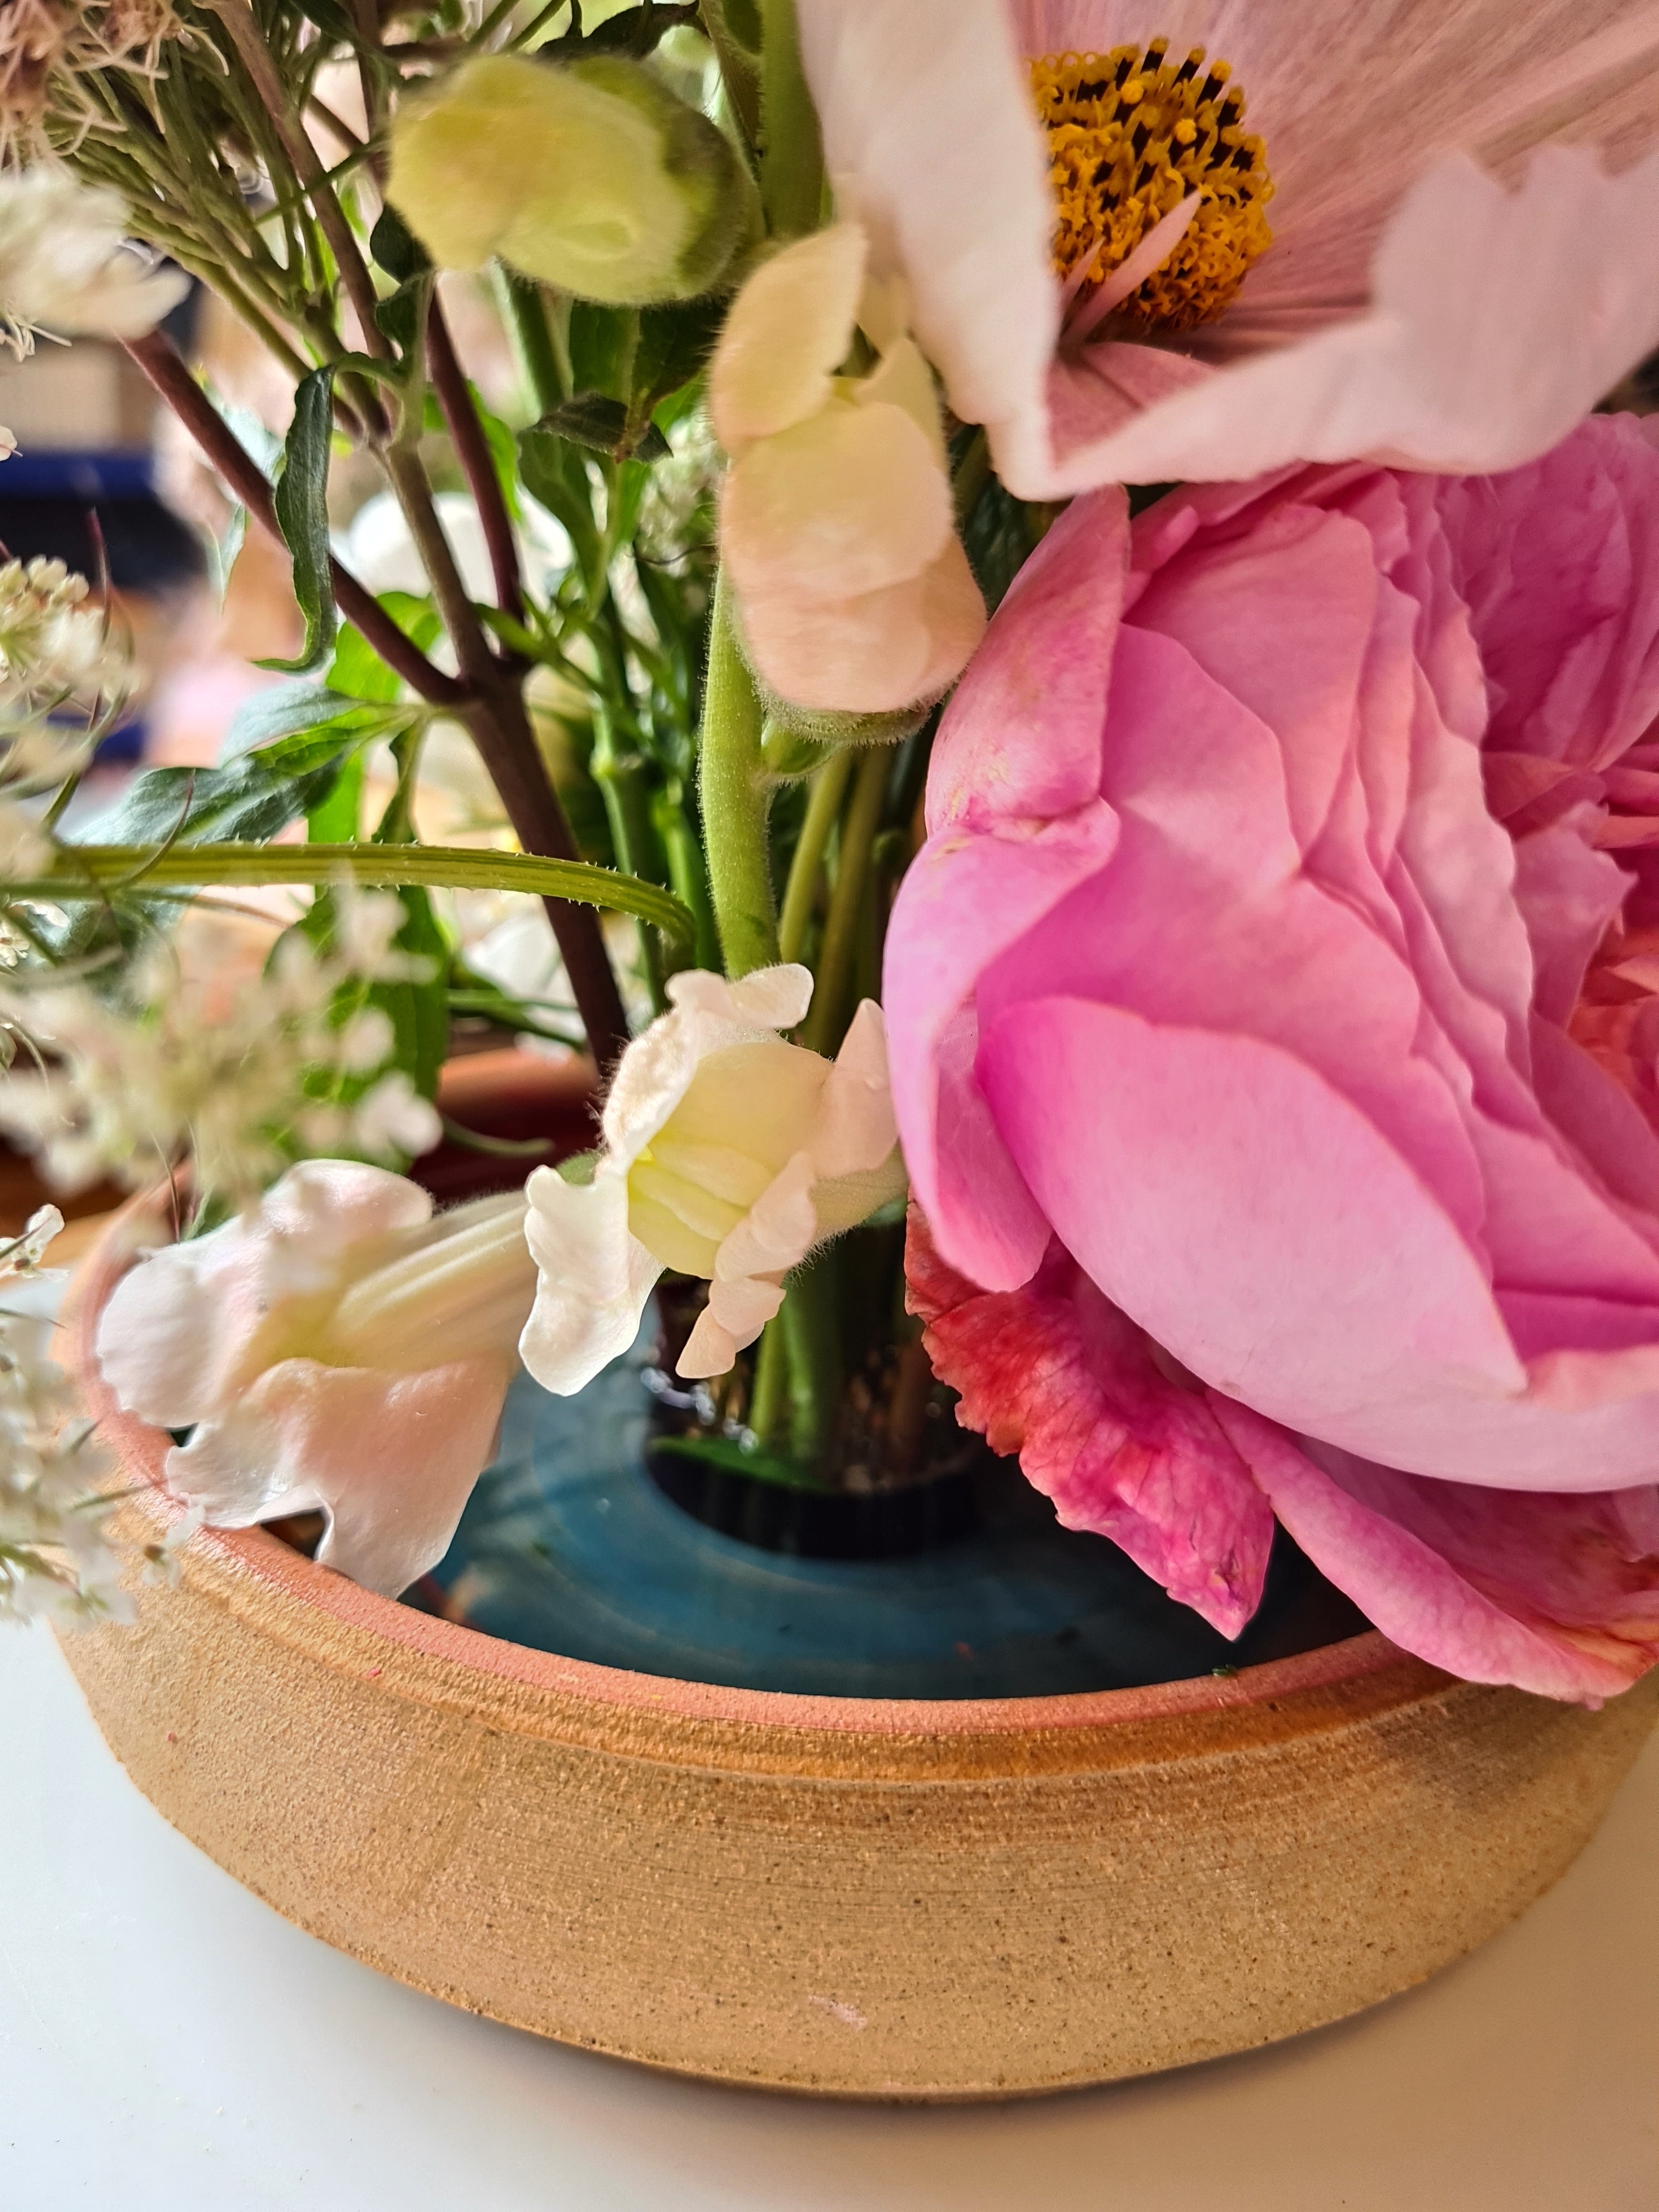
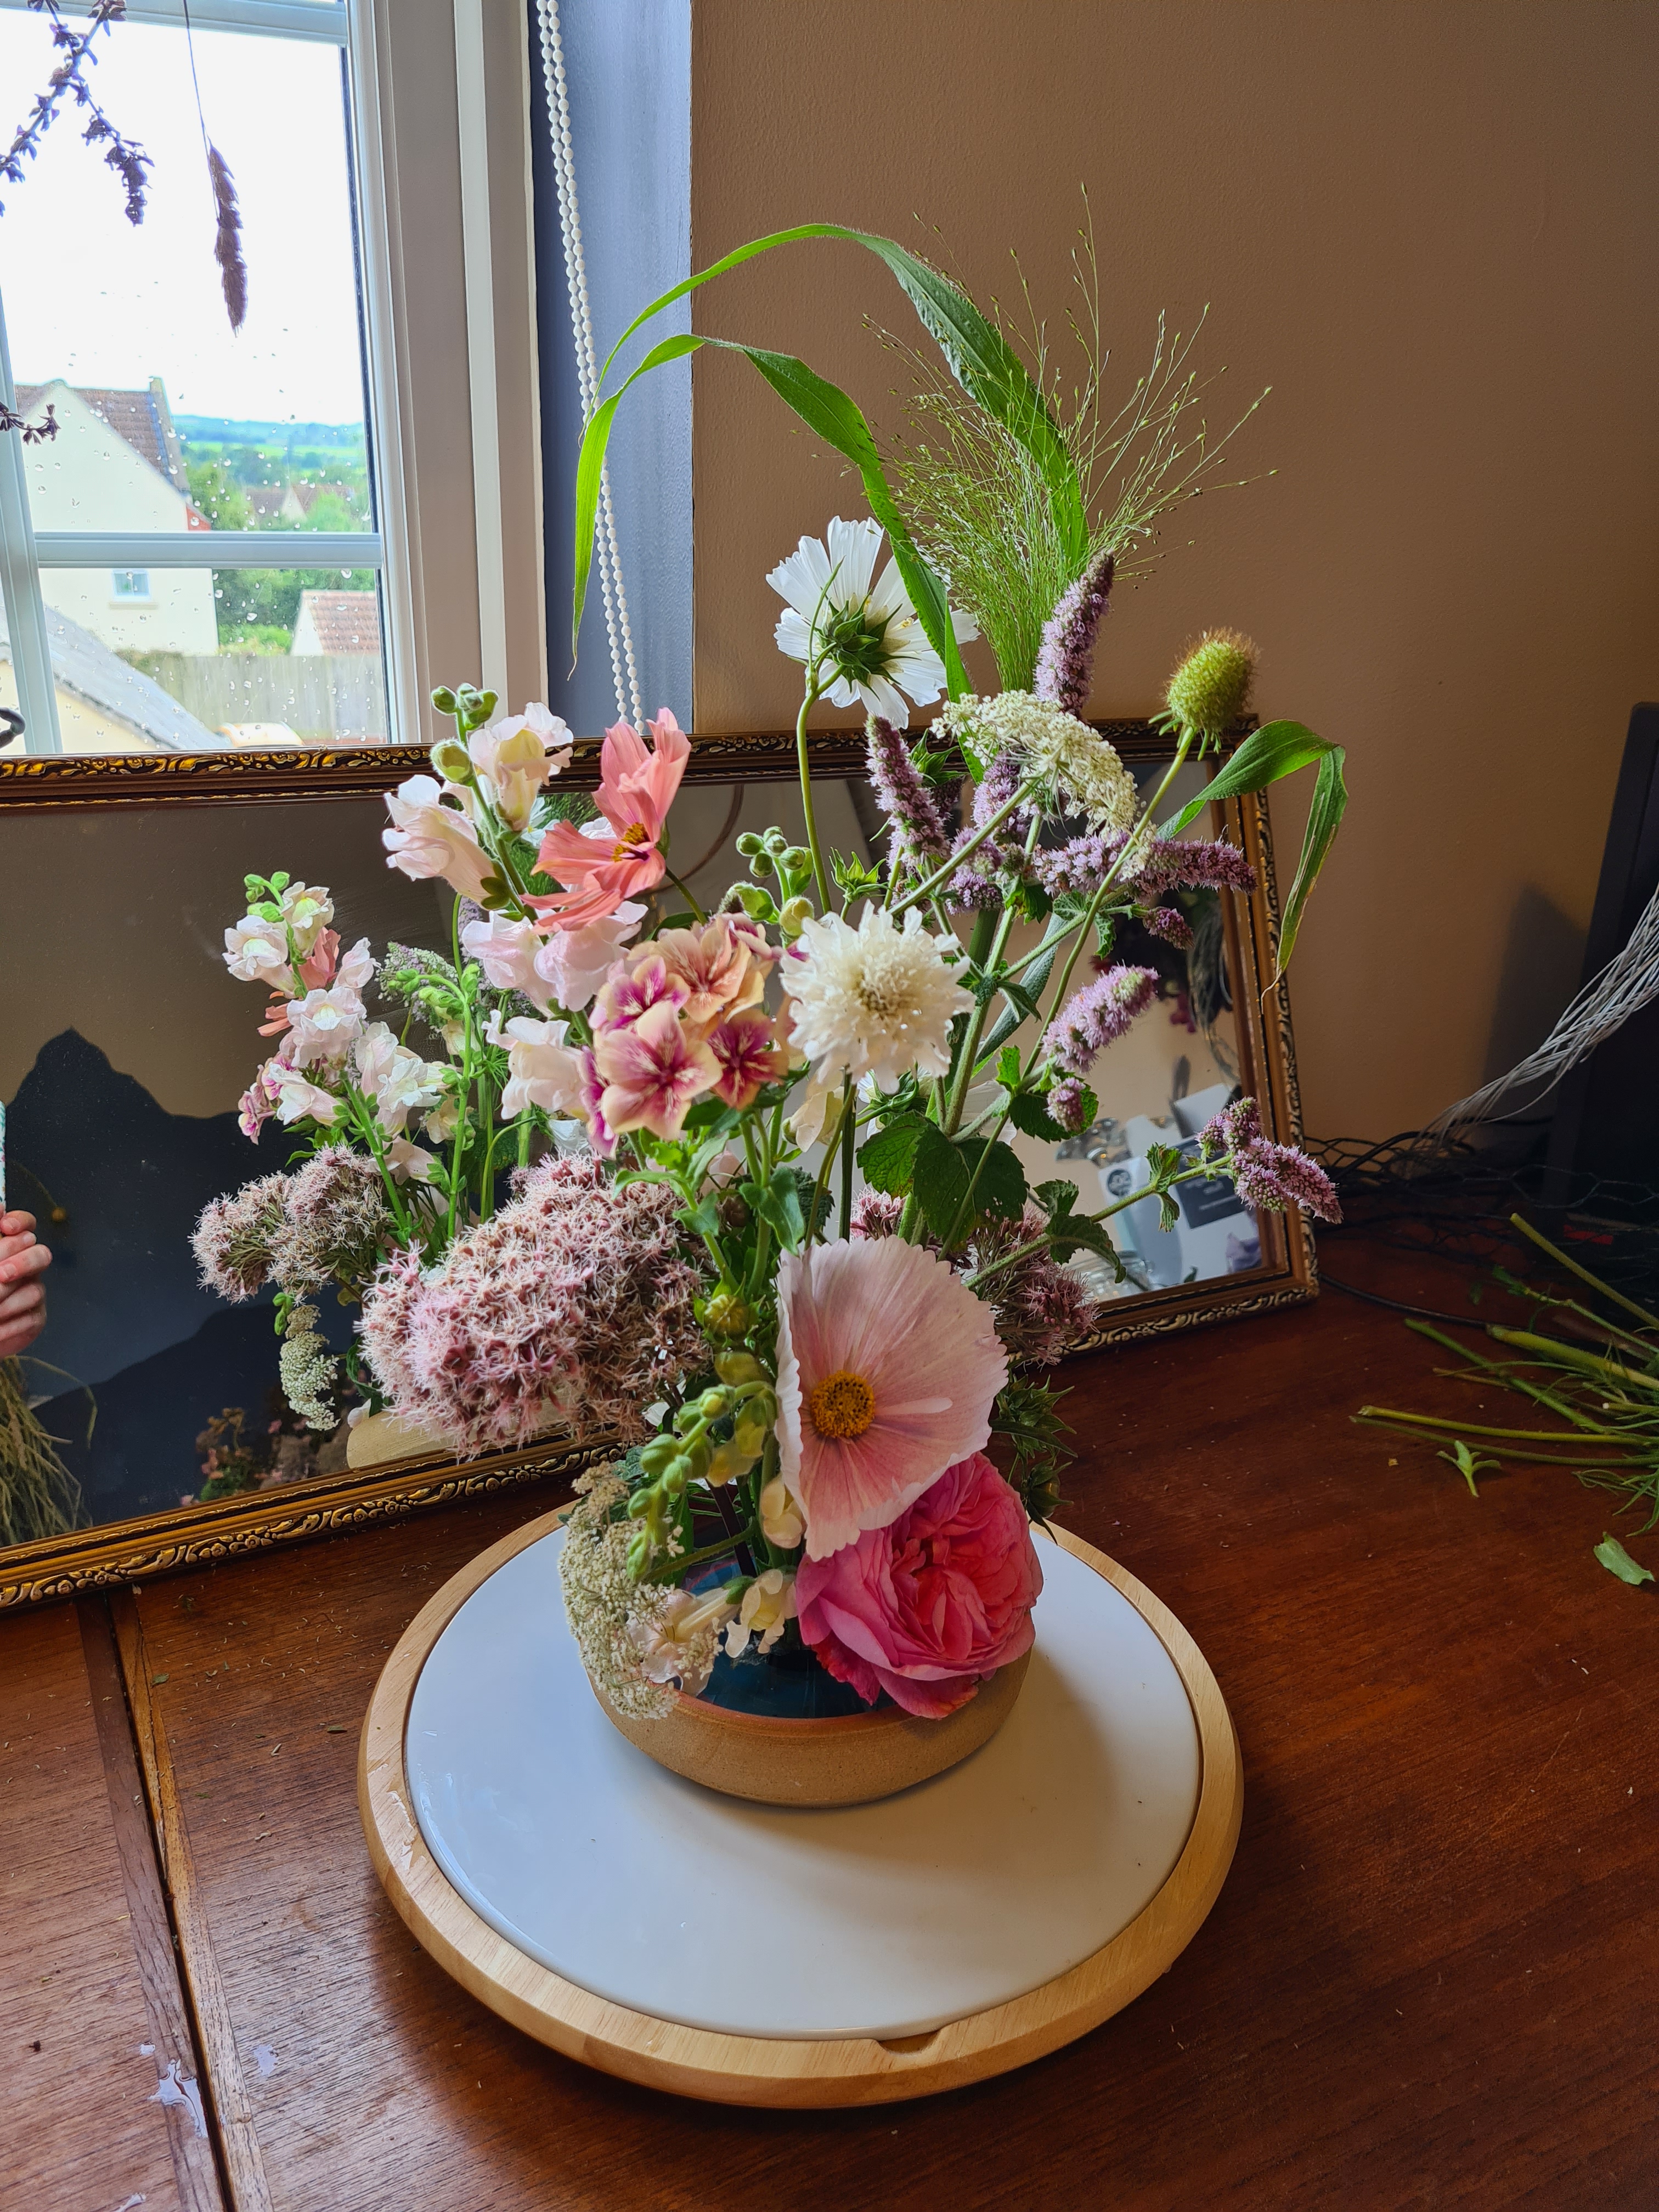
(And, if you are wondering where I got my fabulous bowl from, I actually made it myself with Kim Birchall! I’m pretty proud of it – colours are right on brand, don’t you think?)
Step Five: Keep Stuffing (With Flowers).
As I previously mentioned, you can get a surprising amount of flowers onto one pin holder so keep going until you are happy with the design. You can fill the frog until you can’t see it anymore, or you can just add a few stems for a very modern feel and don’t worry if the pin is visible, they have their own beauty about them!
Step Six: Just Add Water
This step can be done at the end or in between fixing your frog in place and adding the flowers. Make sure the water comes up over the ends of the stems and top up as needed. – Your flowers will last a couple days but not as long as a bouquet in a vase.
I must say, I was sceptical at first (I don’t know why… they are clearly tried and tested devices) but now I am a complete convert and adore them! I love the freedom they give me to arrange simple designs that focus heavily on flowers, and of course the eco-friendly factor earns them mega brownie points!
For a wedding they give an air of elegance and beauty without being showy.

What do you think? If you would to have a go, or have tried using one before let me know! I always love to receive an email – get in touch at esme@thehoneyseeker.co.uk!
